Hugo Markdown Image Handling
This article is under construction
The article discusses the details of how Goldmark Markdown and Hugo handles images, along with how to add attributes such a positioning and sizing when using images in a Hugo Markdown file.
Introduction
For general Markdown references and tutorials see:
- Goldmark - Goldmark is a markdown processor written in go, which is used by Hugo
- Configuring Hugo’s Markdown lists all the configuration options for Hugo’s Goldmark settings.
- Markdown Guide
- Wikipedia Markdown entry
- CommonMark - the markdown “standard”
Image Handling
There are three ways to use images in Hugo:
- Use the standard Markdown Image Tag. Markdown has very basic support for images.
- Use HTML within the Markdown file
- Use Hugo’s figure shortcode. Hugo supplies a shortcode to pu an image in an HTML5
<figure>element. It includes a number of parameters. - OK… the third way is to do something custom. For example create your own custom shortcode, use Hugo Render Hooks, or use a different external Markdown processor like Pandoc
Option 1 - Use the Markdown Image tag
The Markdown Image tag is of the form . This format is part of the CommonMark specification, and supported by all Markdown implementations. It’s particularly useful if you want your Markdown to be “portable”, or you want to generate output formnats other than HTML (PDF, for example).
It will render the image inline. For example,  render as  . There are no options to set the image size or any other properties (At least in the default usage). The HTML Markdown generates is
 <img src="./hugo-logo-125px.png" alt="The Hugo Logo" title="The Hugo Mascot">. And the in line image will determine the height of the line it is on.
If the image tag is put on a separate line it will be treated as new paragraph (in accordance with the markdown specification). So for:

the image is rendered within it’s own <p></p> paragraph block:

The HTML generated is <p><img src="./hugo-logo-125px.png" alt="The Hugo Logo" title="The Hugo Mascot"></p>
The CommonMark-specification is to generate an HTML <img> tag without an HTML5 <figure>,</figure> - a markdown image is an inline, not a block element. For Markdown, this means that:
If you put an image on its own (not inlined) in another paragraph), it would be wrapped in
<p></p>tags. (Even if you provide your own a Hugo Render Hook Template )Hugo/Goldmark has custom attribute support that allows attributes to be placed on block elements, but not inline elements. So:
## My Title Has Attributes {class="myclass} - Block element, This is OK  {height=100px, class="right} - Inline element, Won't work!
In Hugo Hugo Release v0.108.8, there is now a workaround for this:
Set markup.goldmark.parser.wrapStandAloneImageWithinParagraph = false so standalone images will not be wrapped in <p>>/p> tags. Also set block = true to support attributes on block elements:
[markup]
  [markup.goldmark]
    [markup.goldmark.parser]
      wrapStandAloneImageWithinParagraph = false
      [markup.goldmark.parser.attribute]
        block = true
This makes it possible to add Markdown attributes (e.g. CSS classes1) on standalone images:

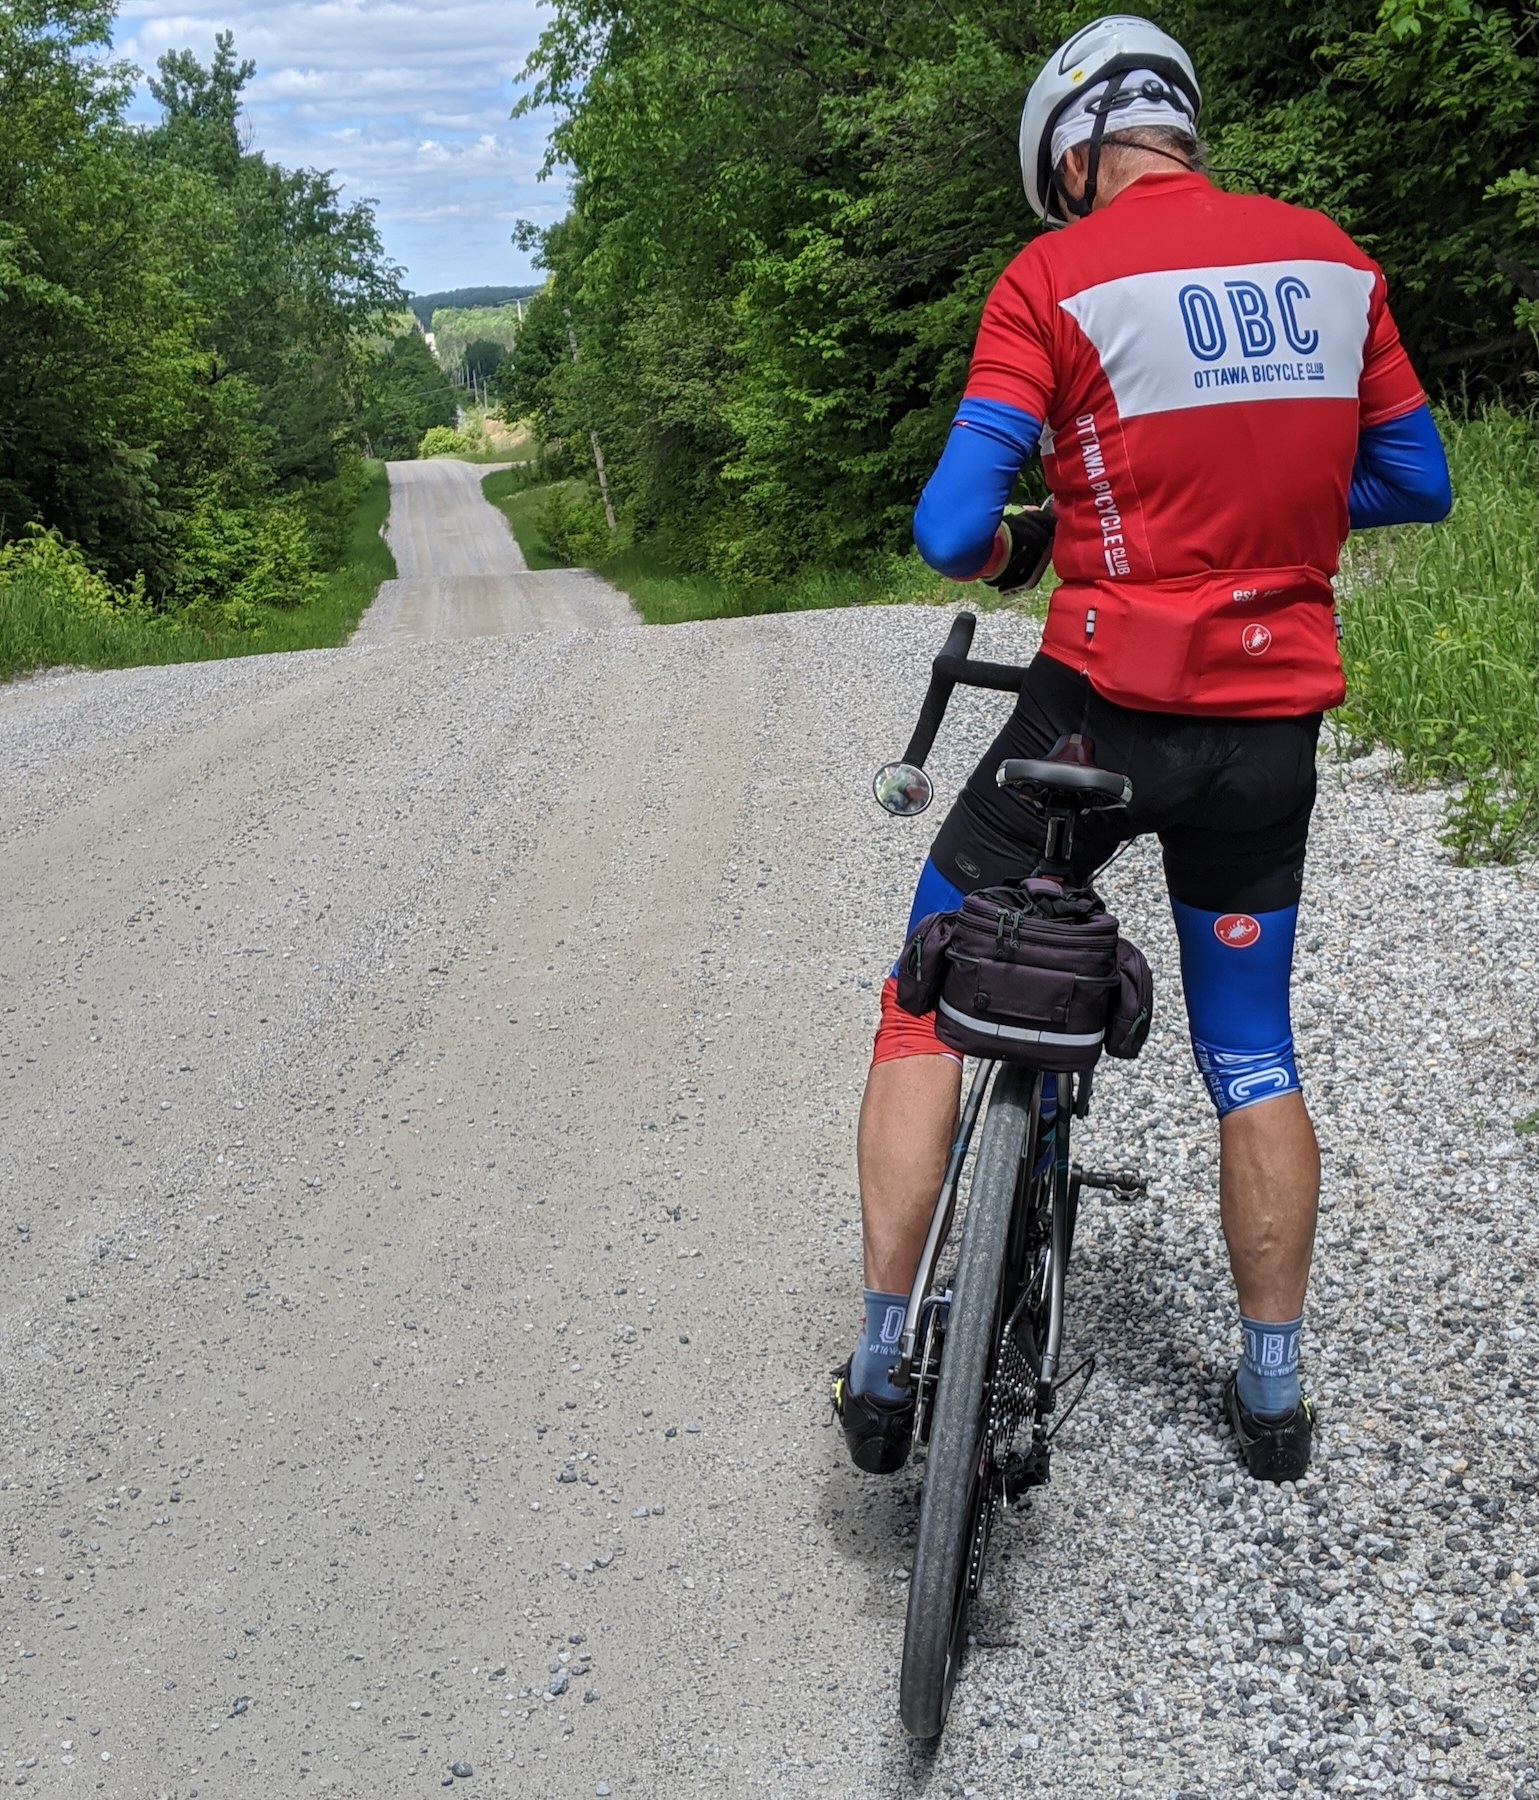
{width="200" alt="Gravel Calls" class="center"}

Note that the attributes must go on the line following the image tag. Putting them on the same line won’t work. While adding attributes within {} after the image URL tag is non-standard Markdown, a number of Markdown processor support it.
Option 2 - Use Embedded HTML
Option 3 - Use Hugo’s figure Shortcode
{{< figure src="./gravel-calls.jpeg" width="200" alt="Gravel Calls" class="left" >}}

At this point we have to enter text to flow to the right of the figure
- Note that the list formatted is a bit messed up. There is no tab.
- another point
- and a third
- this is getting boring!
- and another
- almost there
- still not quite
- one more line!
- and we should be done!
<img src="./gravel-calls.jpeg" width="200" alt="Gravel Calls" class="right" >

At this point we have to enter text to flow to the left of the figure
- Note that the list formatting is a bit messed up. There is no tab.
- another point
- and a third
- this is getting boring!
- and another
- almost there
- still not quite
- one more line!
- and we should be done!
{{< figure src="./gravel-calls.jpeg" width="200" alt="Gravel Calls" class="center" >}}

Note here that the image is centered with class="center", and the text does not flow around.
<img src="./gravel-calls.jpeg" width="200" alt="Gravel Calls">

Finally, if we don’t use any class element, the default is for the image to be left-justified, with no text flow around.
Notes
- Image processor - Hugo has a built in image processor for pre-processing images. It’s use optional. A list of the filtering functions can be found at Image Filters
In this article, I’m using the following css classes to position images:
↩︎.right { float:right; max-width: 40%; margin-left: 5px } .left { float:left; max-width: 40%; margin-right: 20px } .center { display: block; margin: auto; text-align: center; }
